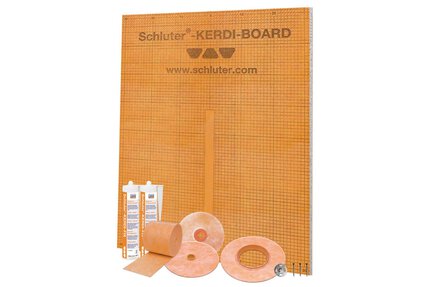
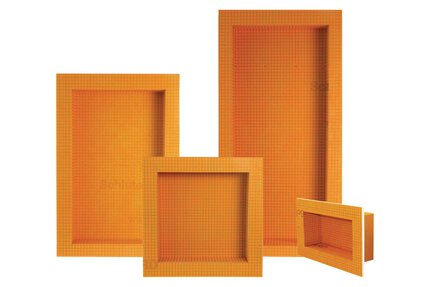
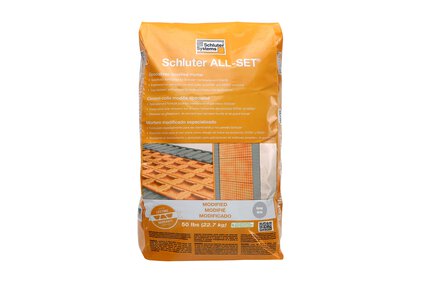
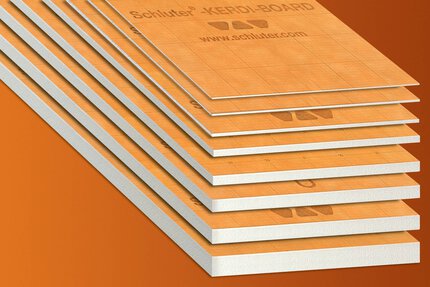
Schluter®-KERDI-TUBKIT
Complete bathtub surround kit

- Designed to create a fully waterproof and vapor-tight enclosure for tiled bathtub surrounds
- Contains waterproofing membrane, and waterproofing strip, pipe seal, mixing valve seal, and sealing and bonding compound
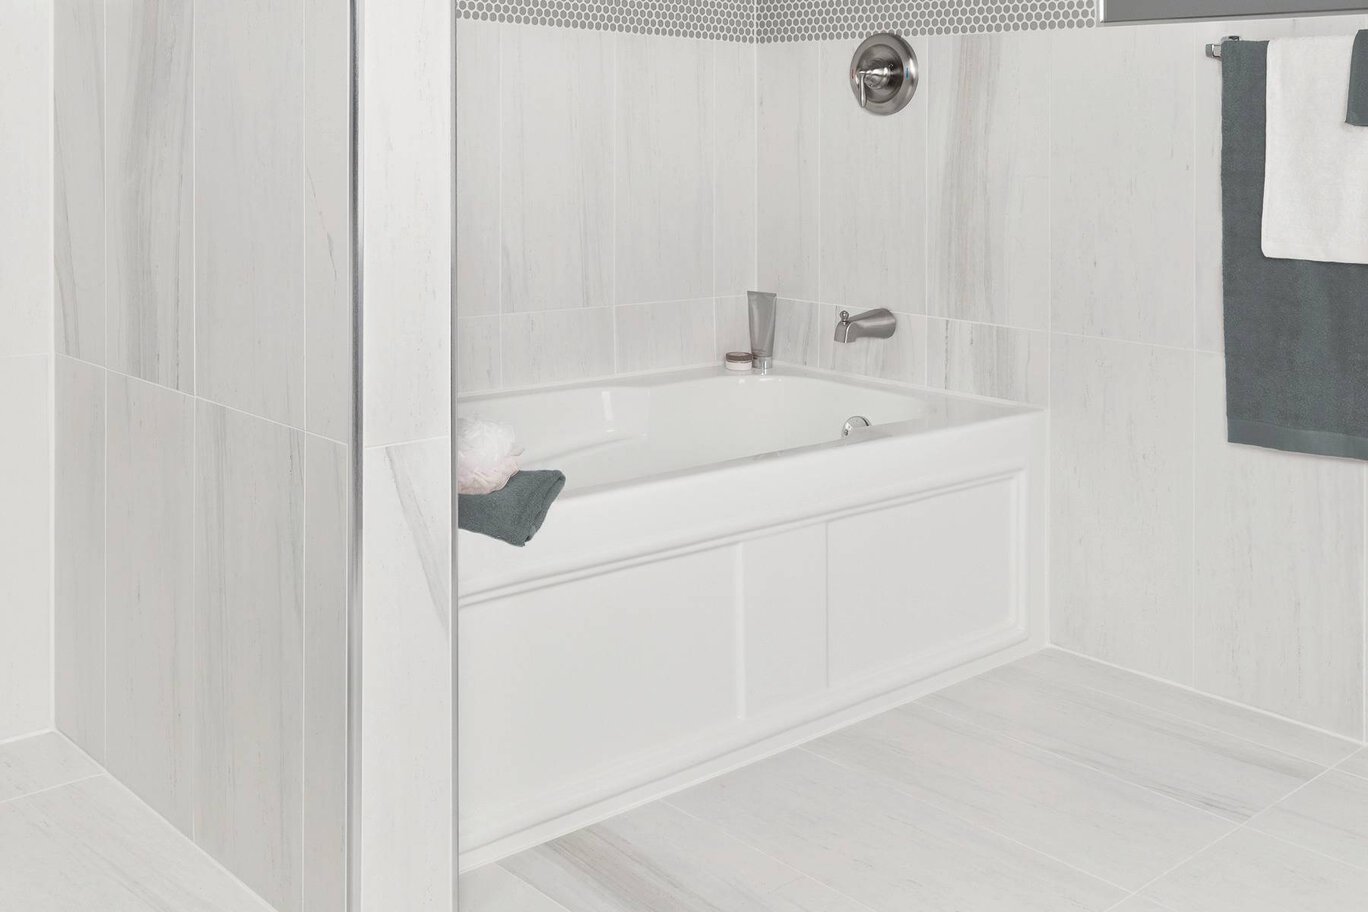
Find recommended accessories here

Shower System Estimator
Calculate all you need for your shower project.
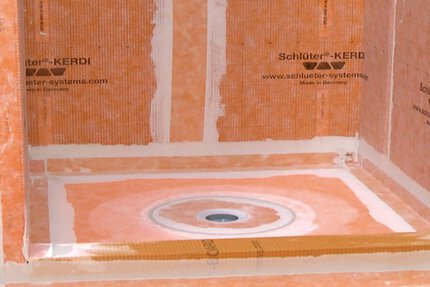
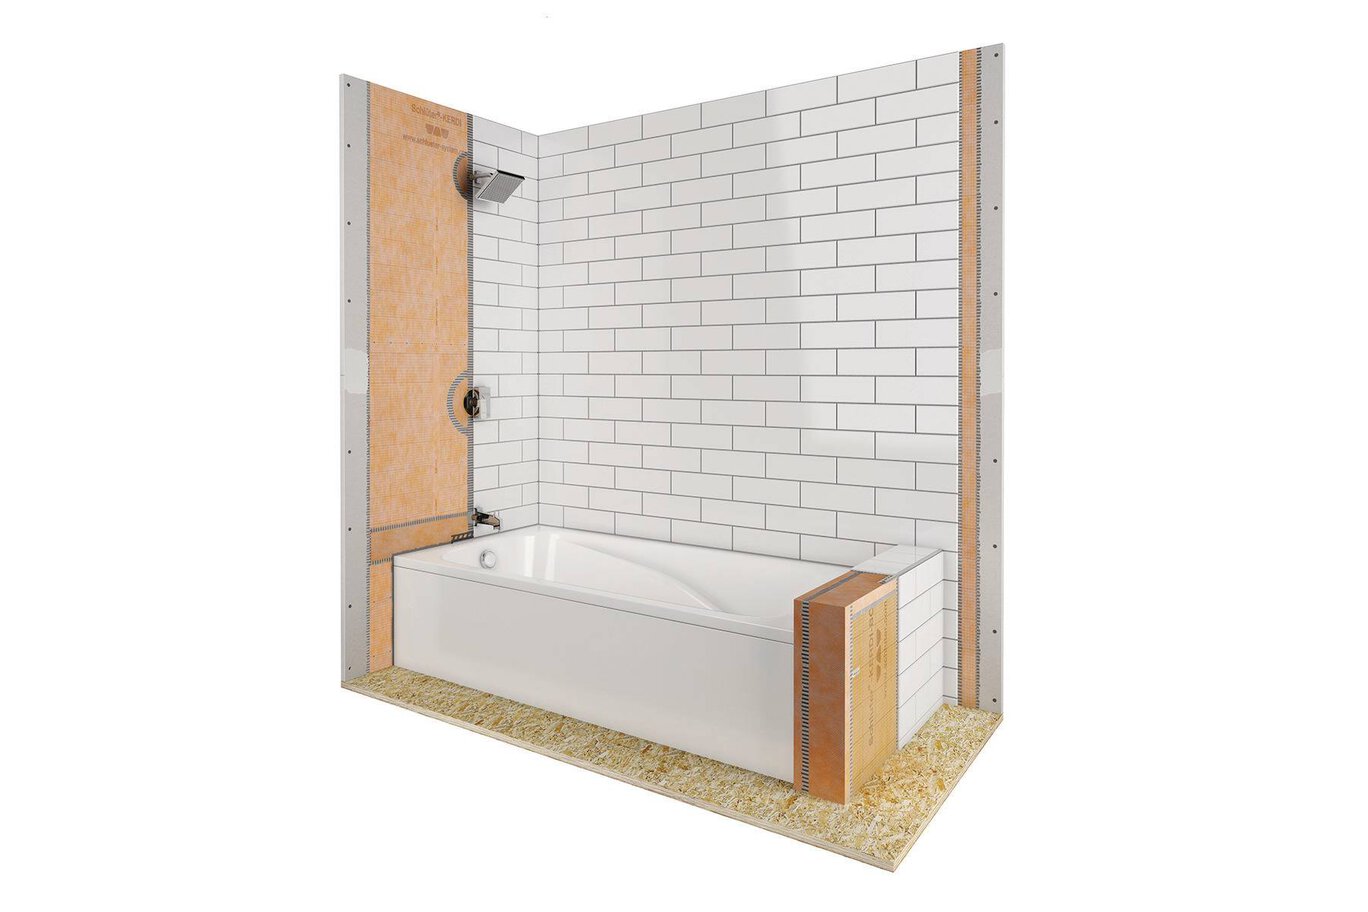
The Schluter®-KERDI-TUBKIT contains all the components necessary to create a fully waterproof and vapor tight bathtub surround assembly
The waterproofing is carried to the height of the showerhead (at minimum). KERDI application on the ceiling is optional for bathtub surrounds. The thin-set mortar used for bonding KERDI to walls and ceilings must be appropriate for the substrate and must penetrate and engage the membrane fleece. The mortar must be mixed to a fairly fluid consistency, but still able to hold a notch.
For complete installation guidelines and warranty criteria, please download the Schluter®-Shower System Installation Handbook and view the installation video available below.
1. Clean any dust or other debris from the surface of the solid backing. Dampen particularly dry and porous substrates in order to help prevent premature drying or skinning of the thin-set mortar.
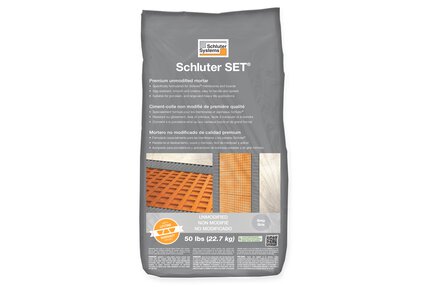
2. Place painter’s tape to protect the tub deck. Apply Schluter SET™, ALL-SET™, FAST-SET™, or unmodified thin-set mortar to the solid backing using a 1/4" x 3/16" (6 mm x 5 mm) V-notched trowel or the KERDI-TROWEL. Completely fill the 1/4" (6 mm)-wide gap between the solid backing and tub with KERDI-FIX or other suitable sealant. Note: When the solid backing is installed above the tub flange, apply KERDI-FIX to the tub flange and spread using a small notched trowel.
3. Apply KERDI-BAND waterproofing strips or 5" (125 mm)-wide cut sections of KERDI waterproofing membrane. Solidly embed the membrane in the mortar and KERDI-FIX to ensure full coverage and remove air pockets.
4. Apply Schluter SET™, ALL-SET™, FAST-SET™, or unmodified thin-set mortar to the solid backing and previously applied KERDI-BAND. Embed the KERDI in the thin-set mortar and work the membrane onto the entire surface to ensure full coverage and remove air pockets.
5. Seams in the membrane are constructed by overlapping the edges of KERDI by 2" (50 mm) or by abutting adjacent sheets of KERDI and installing KERDI-BAND, centered over the joint.
6. Any protrusions through the KERDI membrane (e.g., mixing valve, shower head, etc.) must be sealed with KERDI-SEALPS/-MV, KERDI-FIX, or other suitable sealant.
7. Seal connections to knee walls using KERDI-KERECK-F preformed corners and Schluter SET™, ALL-SET™, FAST-SET™, or unmodified thin-set mortar.
8. Once the entire membrane, including seams, corners, and knee walls have been completely bonded and, therefore, waterproofed, the assembly is ready to be tiled.
FAQ
How do I seal Schluter®-KERDI to a bathtub?
There are two methods to seal KERDI to a bathtub. Please refer to the Schluter®-Shower System Installation Handbook...
Read moreHow long do I have to wait before I can install tile on the Schluter®-KERDI membrane?
Once the KERDI membrane, including seams, corners and protrusions have been completely bonded and, therefore, waterproofed...
Read moreI installed my Schluter®-KERDI membrane yesterday. Why is it so easy to peel it off the wall today?
Thin-set mortar takes time to cure. The bond strength will increase over the first week and month after installation...
Read moreCan I use a premixed thin-set mortar to install Schluter®-KERDI and tile in my shower?
No. Schluter®-Systems does not recommend the use of premixed thin-set mortars (mastics/adhesives) in any KERDI installation.
Read moreI accidentally poked a hole through the Schluter®-KERDI while installing the membrane. Do I need to start over or can I simply repair the hole?
Holes can typically be repaired by installing a patch of KERDI or Schluter™-KERDI-BAND with...
Read moreWhat is the proper thin-set mortar consistency for installation of Schluter®-KERDI/-KERDI-DS?
When installing KERDI/-KERDI-DS the unmodified thin-set mortar is mixed to a fairly fluid consistency, but still able to hold a notch...
Read moreDoes Schluter®-KERDI waterproofing membrane have a front/back to it?
No, the KERDI membrane does not have a front/back to it. One side of the membrane features printed gridlines...
Read moreHow do I receive a lifetime warranty?

Watch & Learn
About the product

How to Install the Schluter®-KERDI-TUBKIT

Schluter®-Systems Warranties

How to Waterproof Connections to Fixed Building Elements
Find some existing tutorials and project documentation videos to learn how-to get the best out of our products - for more fun in your life, start now!
Watch more videos / playlists