Curbless Shower Framing: What Installers Need to Know About KERDI-SHOWER-FRS
JP Stanisci breaks down curbless shower installation so you can build it up
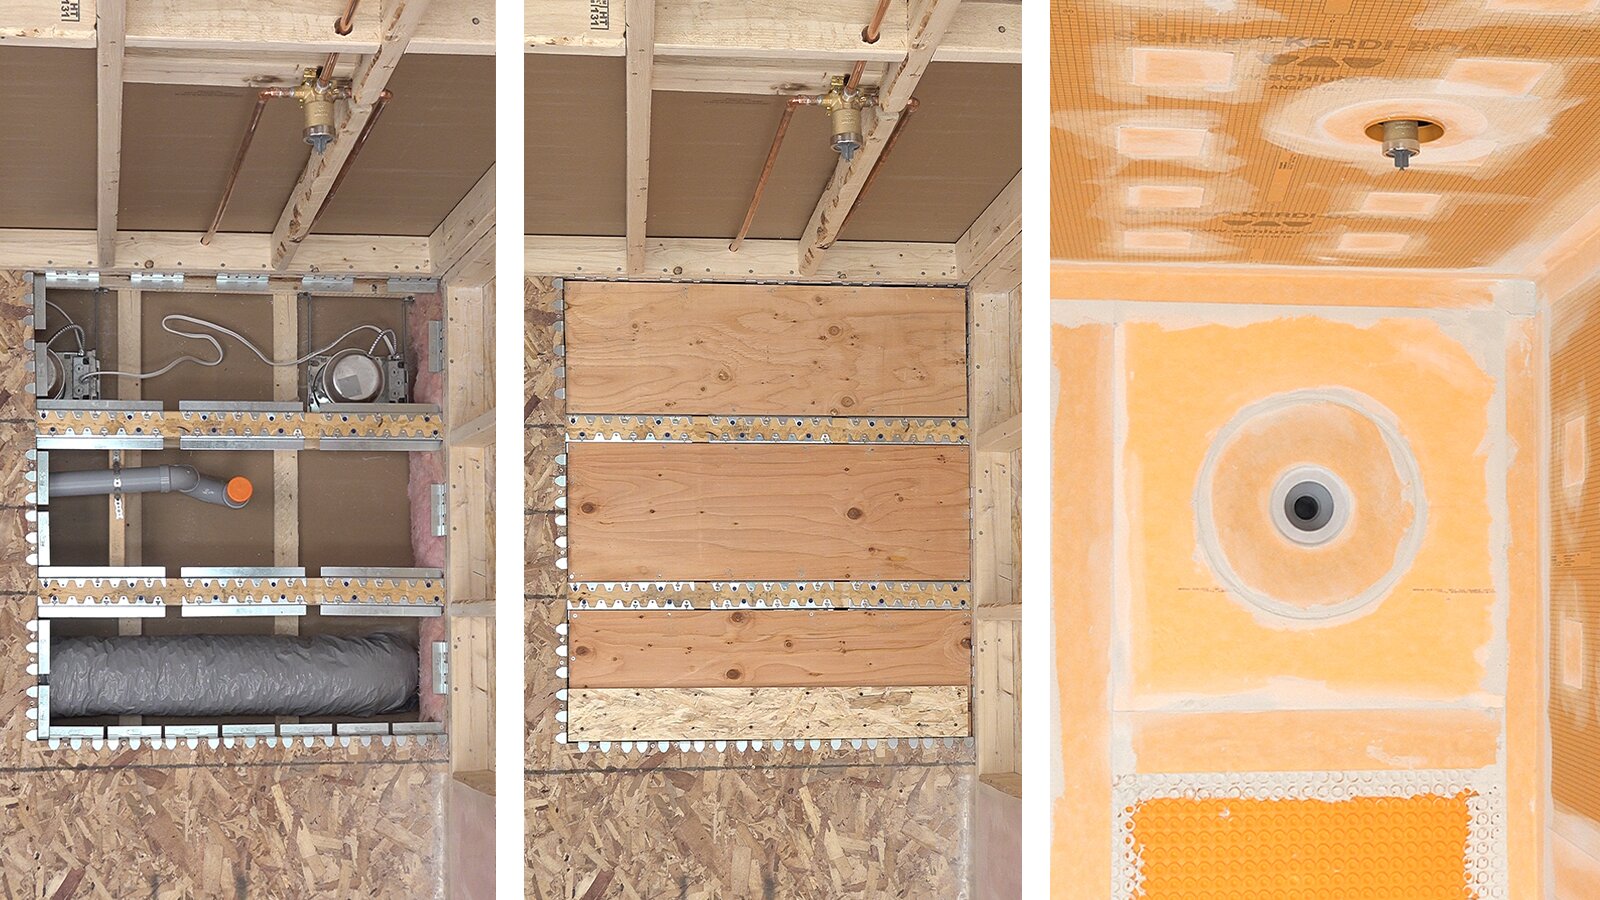
Curbless showers are beautiful. The framing usually isn’t.
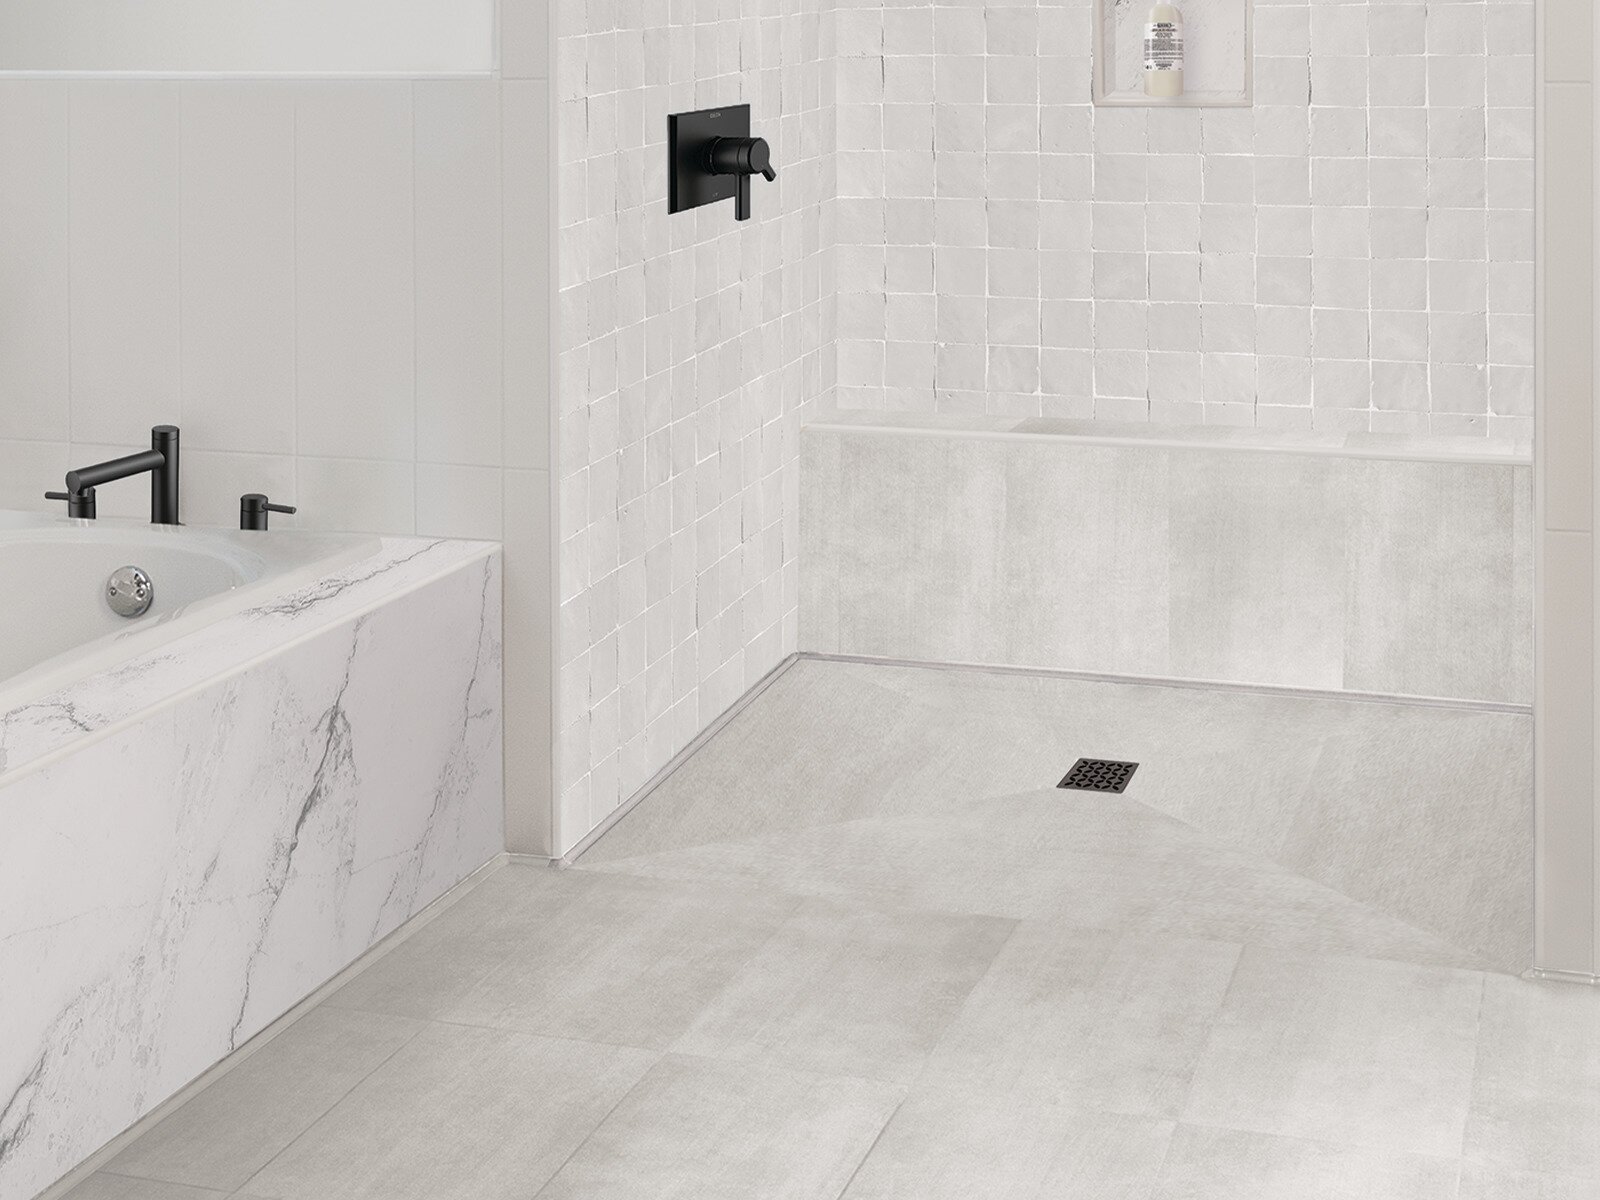
Curbless showers continue to grow in popularity for one simple reason: they look clean, modern, and high-end. Why’s that? A curbless shower removes the raised threshold at the entry, so the floor runs flush from the bathroom into the shower. But behind that seamless entry is a reality most homeowners never see.
Creating a recessed shower floor in a renovation can quickly turn into a puzzle filled with unknowns. What’s inside the floor cavity? Wiring? Plumbing? HVAC ducts? Bridging? Existing framing conditions?
For installers, that uncertainty often becomes the hardest part of the project. According to installer, educator, and Field Technician Manager JP Stanisci, that’s where KERDI-SHOWER-FRS changes the game. “So, with a system like this, I think it helps to get rid of all the guesswork,” he explains.
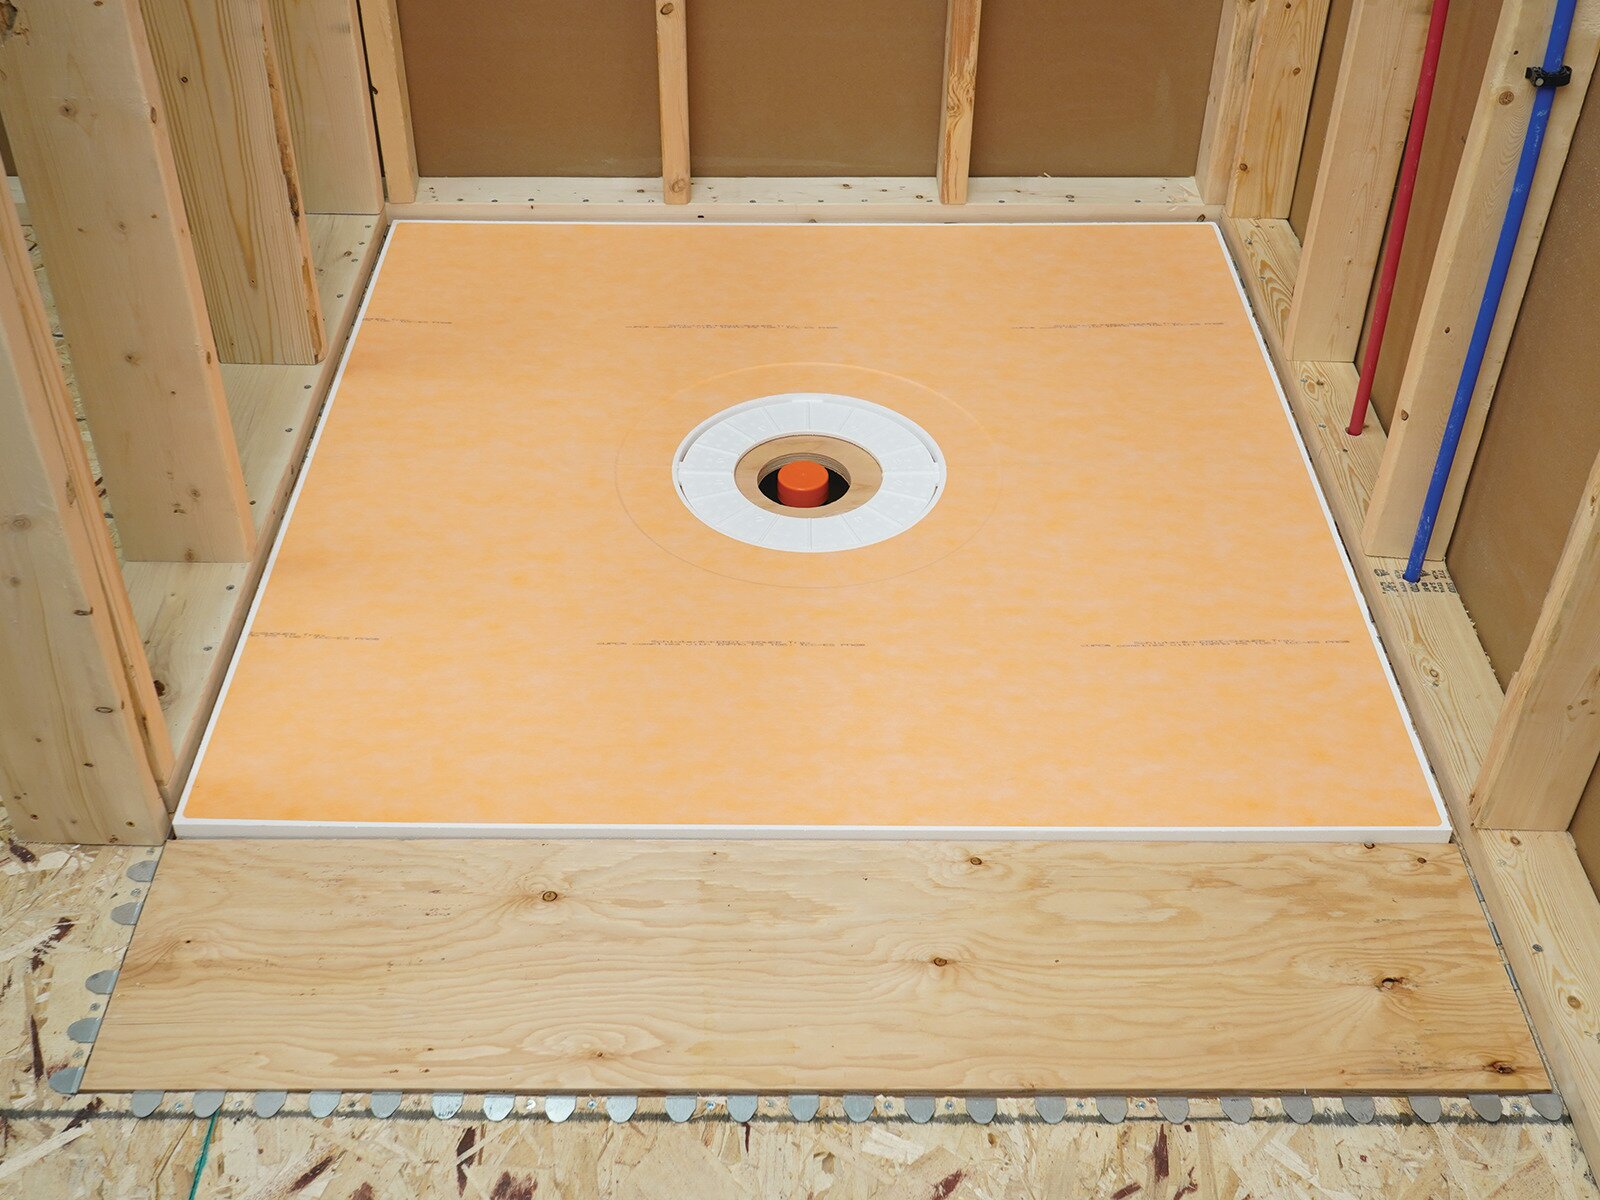
Rather than relying on complicated framing modifications, the KERDI-SHOWER-FRS floor recessing system uses engineered steel brackets to recess the shower floor about 3/4 inch (3/4") between the joists, creating a repeatable process for curbless shower installations.
And in renovation work, repeatability matters.
Renovations Are Full of Surprises
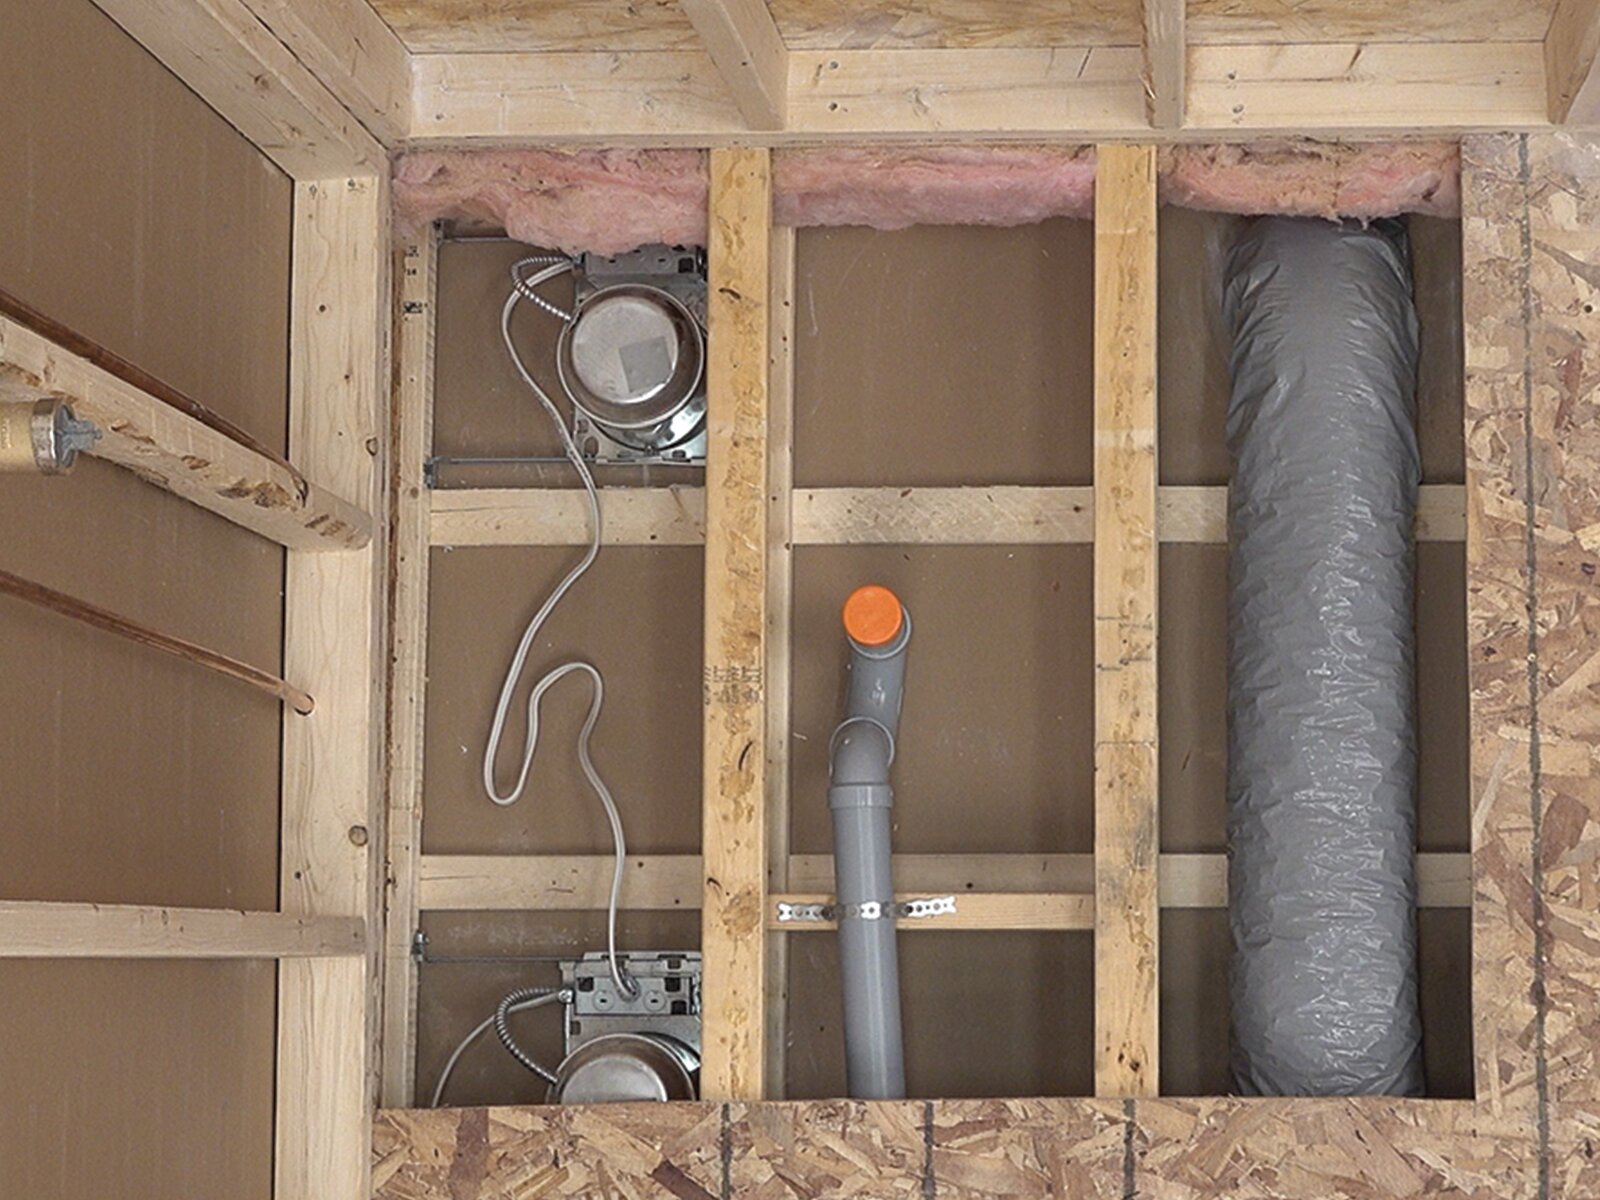
One of the biggest challenges with traditional recessed shower framing is that installers rarely know what they’ll find after opening the floor.
“You’re just guessing what might be under there,” says JP. “Once you remove the plywood and you see that all of a sudden you have 50 million wires to deal with, copper piping, plastic piping, drain piping, then you’ve usually got a heating duct running in that floor space.”
Traditional framing methods often require installers to work around those obstacles while still maintaining enough structural rigidity to support the shower assembly. That process can become time-consuming quickly. “Trying to fit these large pieces of wood in a joist space with no access from below, or limited screw access, those are the pain points of the framing side,” he says.
KERDI-SHOWER-FRS simplifies that process by minimizing how much space the system occupies within the joist cavity.
Because the brackets are installed from above and recess the floor by only about 3/4 inch (3/4") into the joist space, installers can typically avoid interference with plumbing, wiring, or HVAC components. “When you have FRS in your back pocket, you know that whatever is in that floor is not going to bother you.”
A More Repeatable Curbless Shower Installation Process
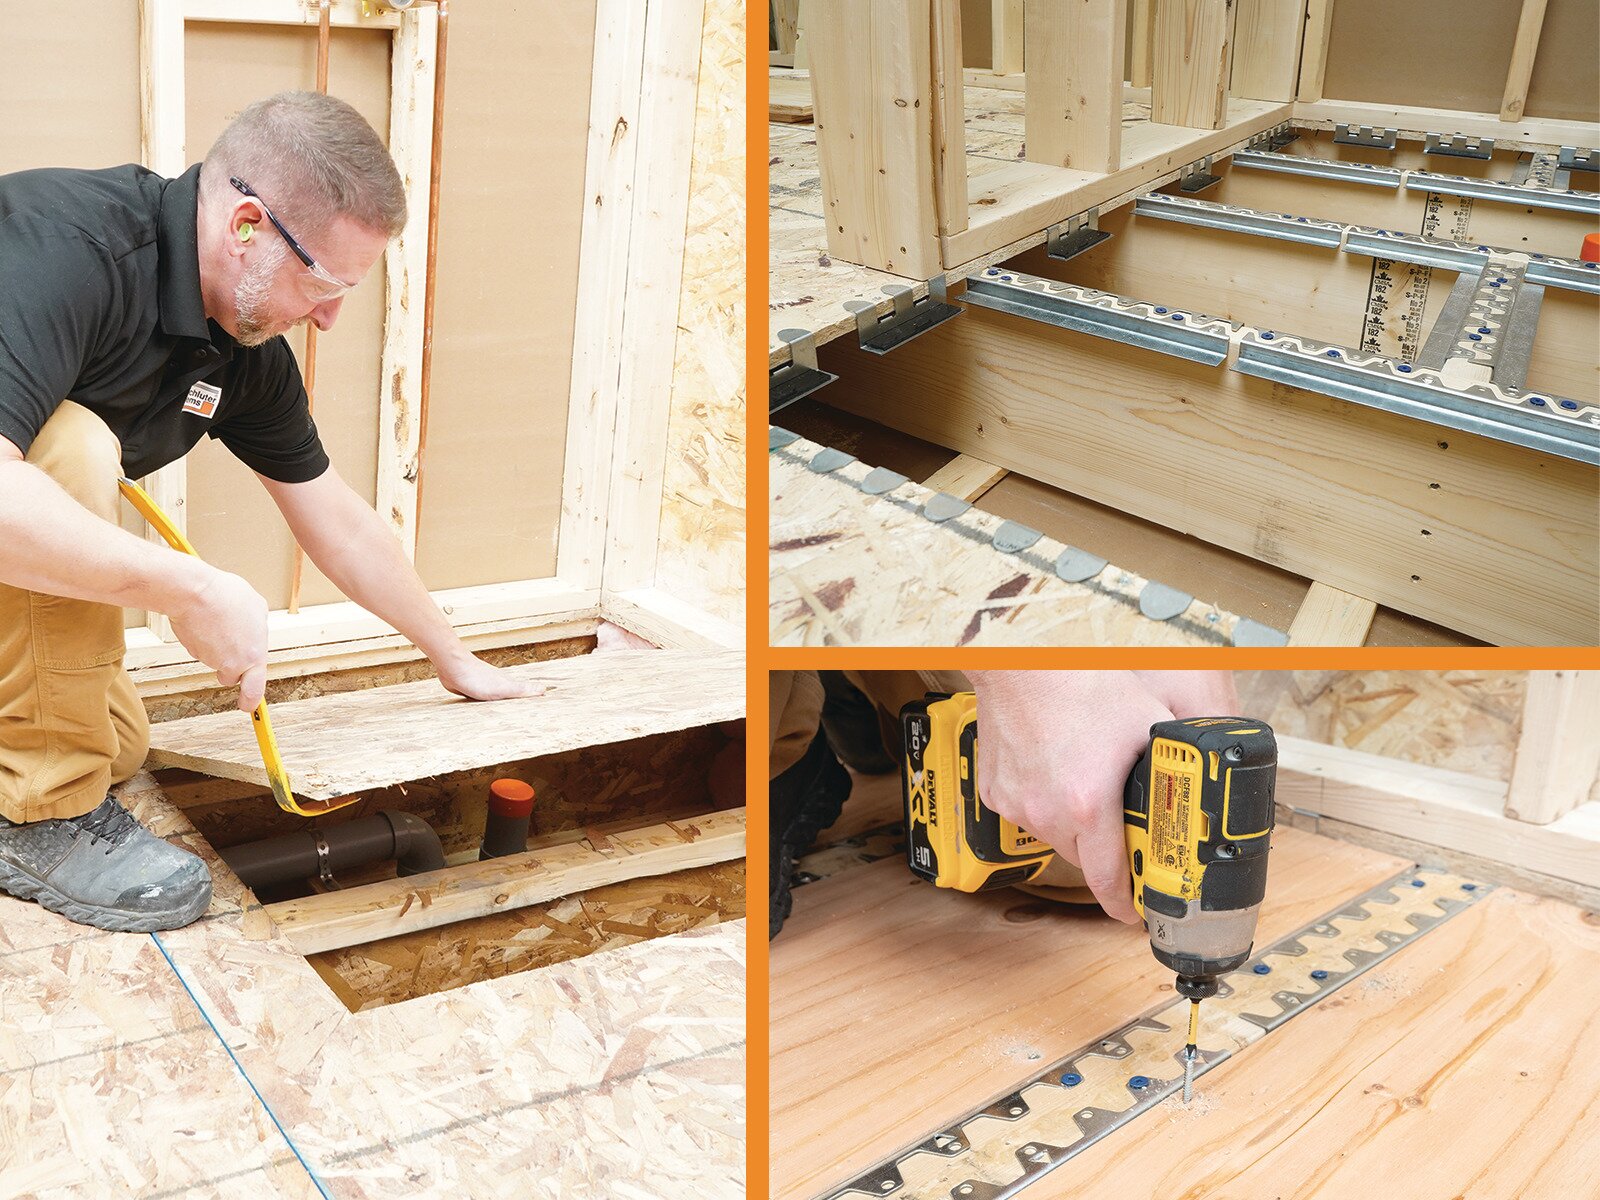
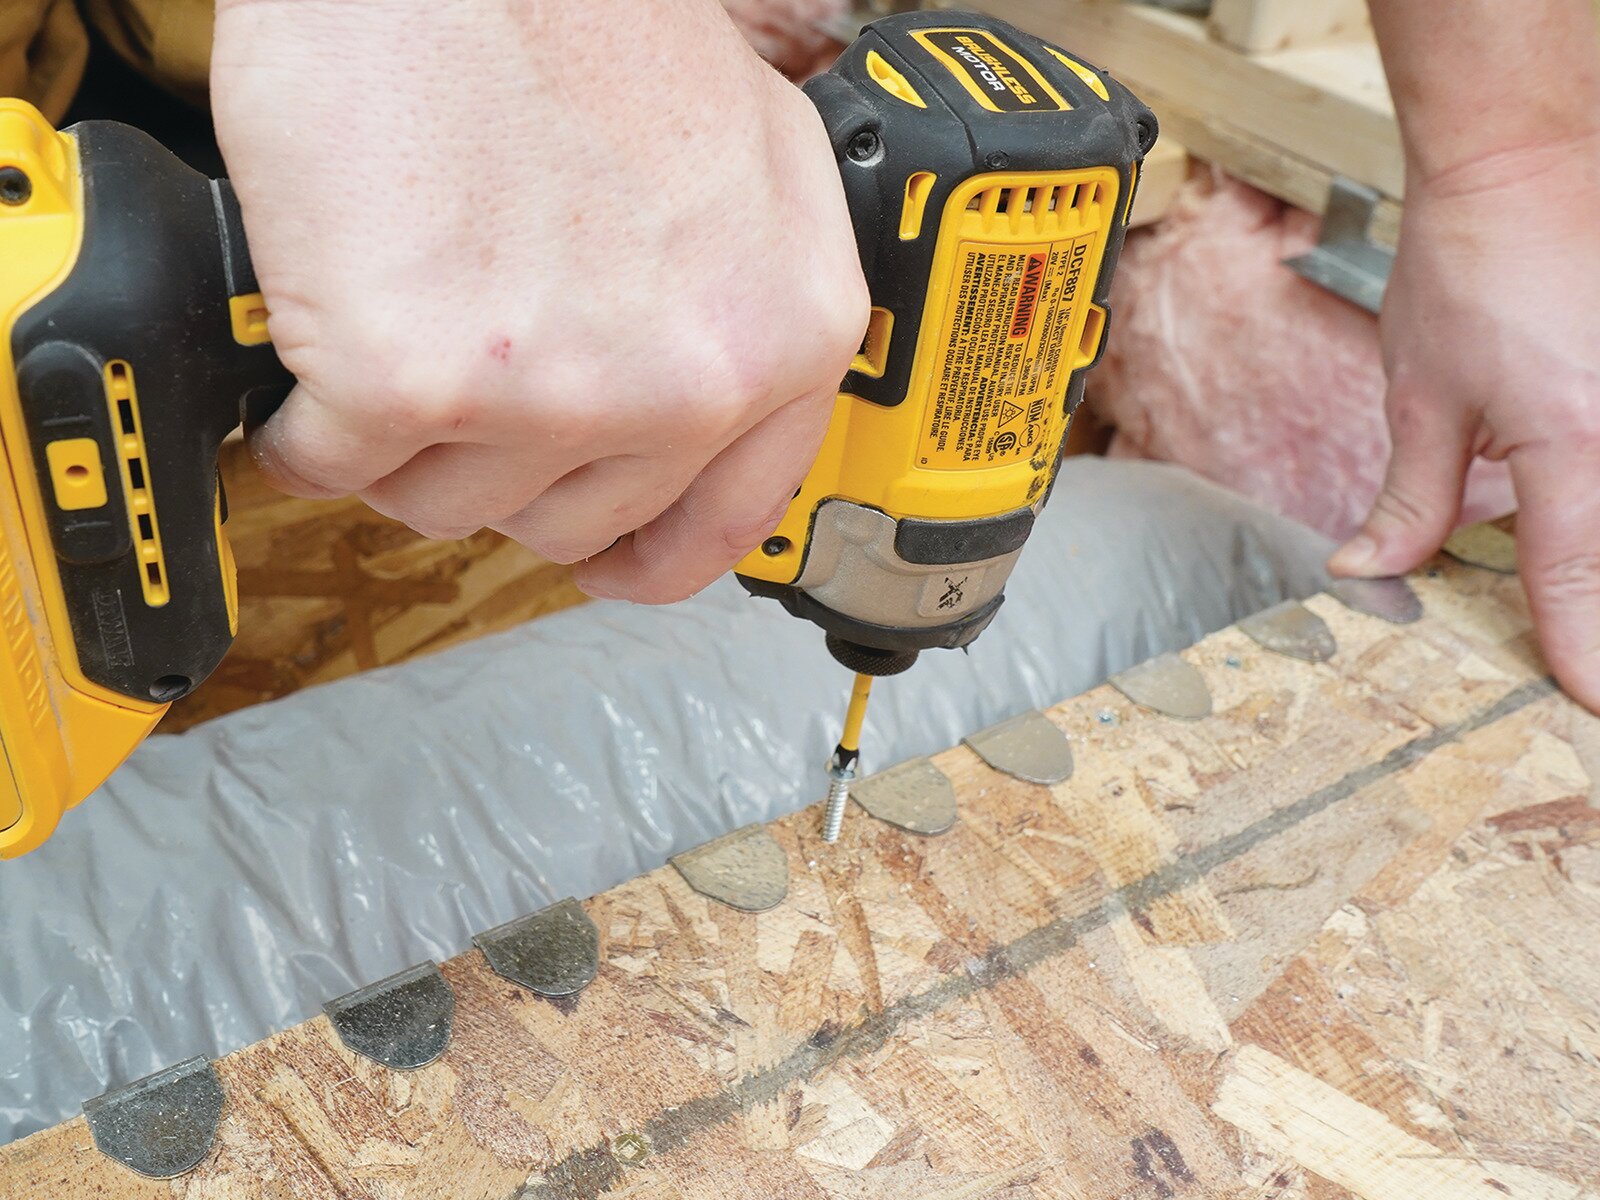
JP describes the installation process as straightforward once installers understand the layout principles. “It really goes together like Lego blocks,” he says. After removing the existing plywood, installers lay out the brackets, ensure corners are properly supported, and begin fastening the system into place.
The process still requires careful planning, especially when working around custom shower sizes or varying plywood thicknesses, but much of the uncertainty associated with traditional recess framing is eliminated. “You don’t have to think about all the framing you need to do to reinforce it enough,” JP explains.
That repeatability can create major time savings on-site. “You could plan to rip out the plywood, redo the plumbing, install FRS, reinstall the plywood, install the shower pan, and start your shower waterproofing the same day.” By comparison, traditional framing approaches may require hours spent working around mechanicals and modifying framing components.
Installer Tips and Lessons Learned
While the system simplifies curbless installations, JP says there are still a few important details installers should know before getting started.
Don’t Over-Screw the Brackets
One of the most common mistakes is using too many screws. “If you put too many screws in a bracket, it has the possibility of splitting the wood,” JP explains. Instead, installers should follow the specified screw spacing and placement requirements carefully.
Pre-Drilling Makes a Huge Difference
JP strongly recommends pre-drilling the brackets before fastening. “I’ve done it both ways,” he says. “The pre-drilling takes a little bit more time, but I find it helps to make things easier.” Using two drills, one for drilling and one for fastening, can speed up the process significantly.
Layout Matters
Before cutting any plywood, JP emphasizes the importance of careful planning. “Mark up that floor 10 times and make sure that’s where you want to be before you start cutting plywood.”
He also notes that installers need to pay attention to unsupported plywood edges when cutting shower openings, as plywood overhang cannot exceed 1 inch. “If that plywood ends up in the middle of two joists, it becomes super weak,” he says. The solution is to cut back closer to the joist so the brackets can properly support the recessed section.
The Right Tools Help
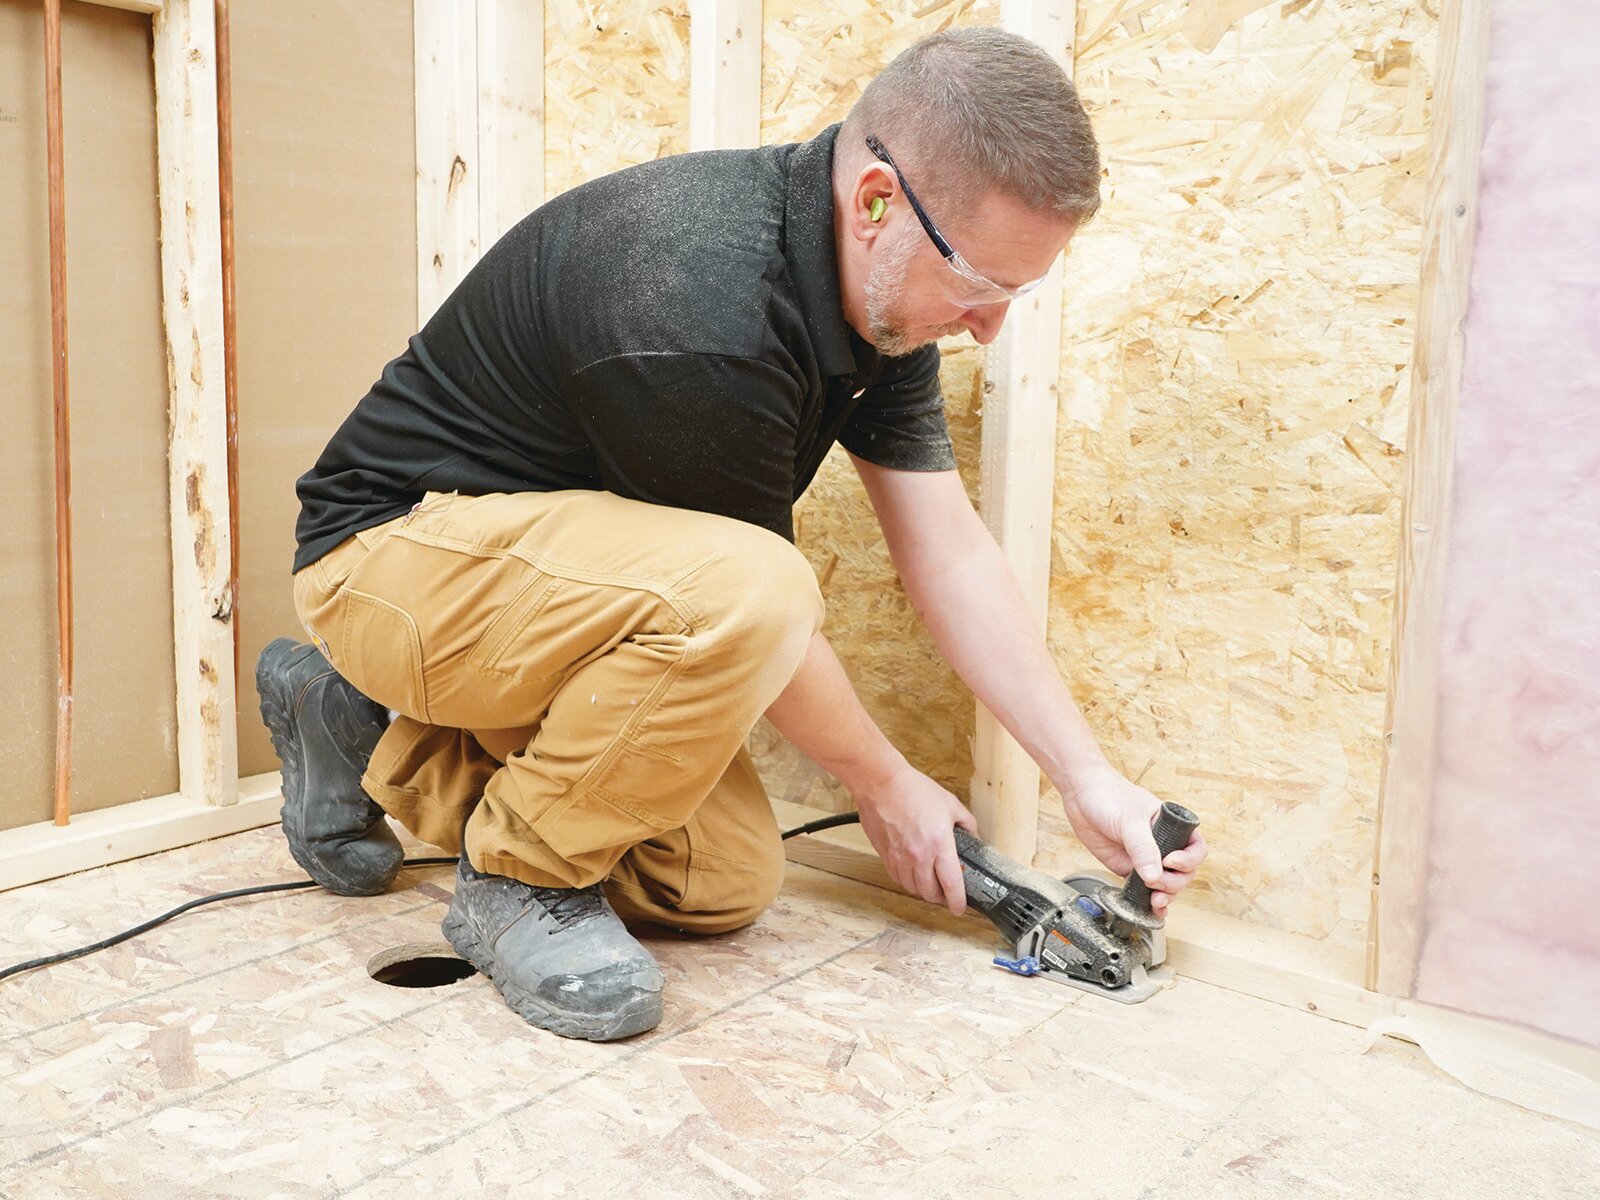
One tool JP recommends is a flush cut saw that allows installers to cut plywood tight to existing walls. “It gets you right up against the drywall or framed wood so the clips go right up against the wall,” he explains. Combined with quality drill bits and proper layout planning, the installation becomes much smoother.
Confidence Changes Everything
Perhaps the biggest benefit of KERDI-SHOWER-FRS is not just installation speed. It’s predictability.
Traditionally, contractors often hesitate to promise a curbless shower until they open the floor and assess the conditions. “My first response would be I can’t tell you yes or no until I remove that plywood,” JP says.
But with FRS, that conversation changes. “Having FRS in your back pocket, knowing about the product and seeing that it does what it does, I could say ‘yes’ before lifting that plywood now because I know it’s possible.”
That confidence can simplify quoting, reduce uncertainty, and make curbless shower projects far more approachable for installers and clients alike. “You don’t have to wait and see what’s in the floor,” he says. “You can plan this and know you’re going to do it.” And at the end of the day, isn’t that was every installer wants?
Performance Below the Surface
The best curbless shower installations start with a system designed for real-world conditions. Explore KERDI-SHOWER-FRS and the full Schluter-Shower System to see how coordinated components work together to simplify installation and deliver reliable performance behind the tile.
Frequently Asked Questions
Browse commonly asked questions about Schluter's KERDI-SHOWER-FRS (floor recessing system).