Schluter®-KERDI-LINE-FC
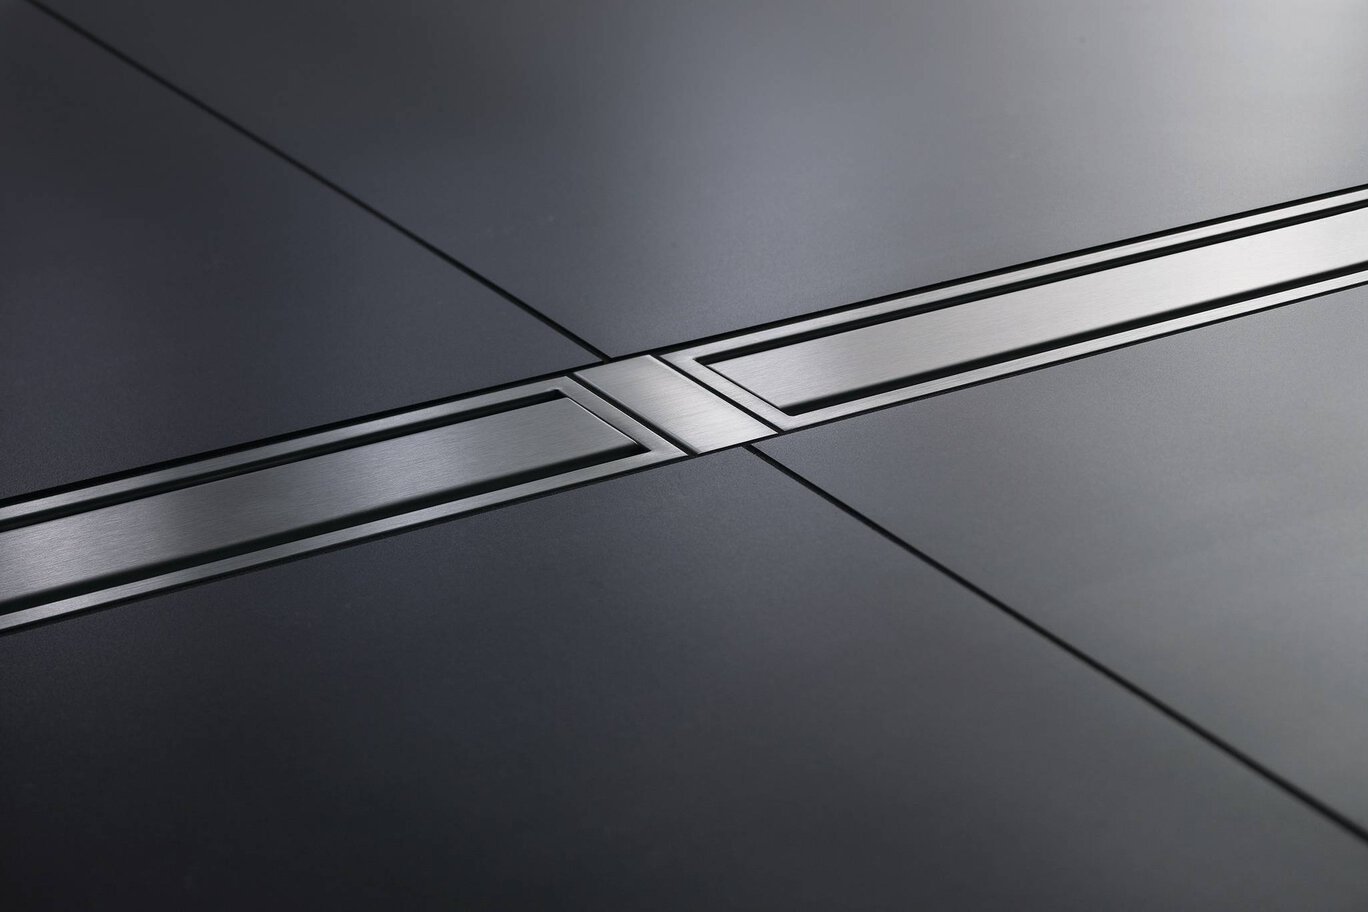
Plaque de finition utilisée pour connecter plusieurs drains Kerdi-Line

- Disponible en finition acier inoxydable brossé, chrome et 9 couleurs TRENDLINE
- Prévu pour une utilisation avec les grilles SOLID ou SQUARE
Trouvez ici les accessoires recommandés

Estimateur de système de douche
Calculez tous les besoins pour votre projet de douche.
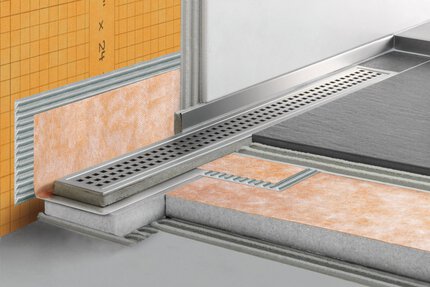
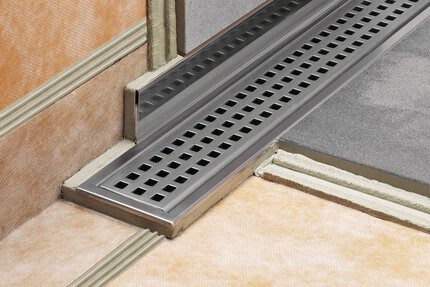
Schluter®-KERDI-LINE-FC est une plaque en inox destinée à l’utilisation avec le drain linéaire Schluter®-KERDI-LINE pour créer une apparence harmonisée dans les cas où on pose plusieurs drains bout à bout. KERDI-LINE-FC présente un fini brossé, chromé ou coloré texturé qui s’intégrera avec les grilles pleines ou perforées munies d’un cadre en inox brossé.
KERDI-LINE-FC ne requiert aucun soin ou entretien particulier et est résistant aux moisissures et aux champignons. On peut retirer la grille afin de nettoyer le corps de caniveau et la conduite d’évacuation. Nettoyez les grilles et profilés au moyen d'un agent de nettoyage neutre. Évitez les acides puissants (ex. : acide chlorhydrique ou fluorhydrique) et les nettoyants alcalins (ex. : eau de javel, ammoniaque, chlore). N’utilisez pas de nettoyants ni d’outils abrasifs. Même l’acier inoxydable requiert un nettoyage périodique pour favoriser la préservation de son apparence et réduire les risques de corrosions. Les surfaces d’acier inoxydable deviennent plus lustrées lorsqu’on les nettoie au moyen d’un produit de polissage pour chrome.
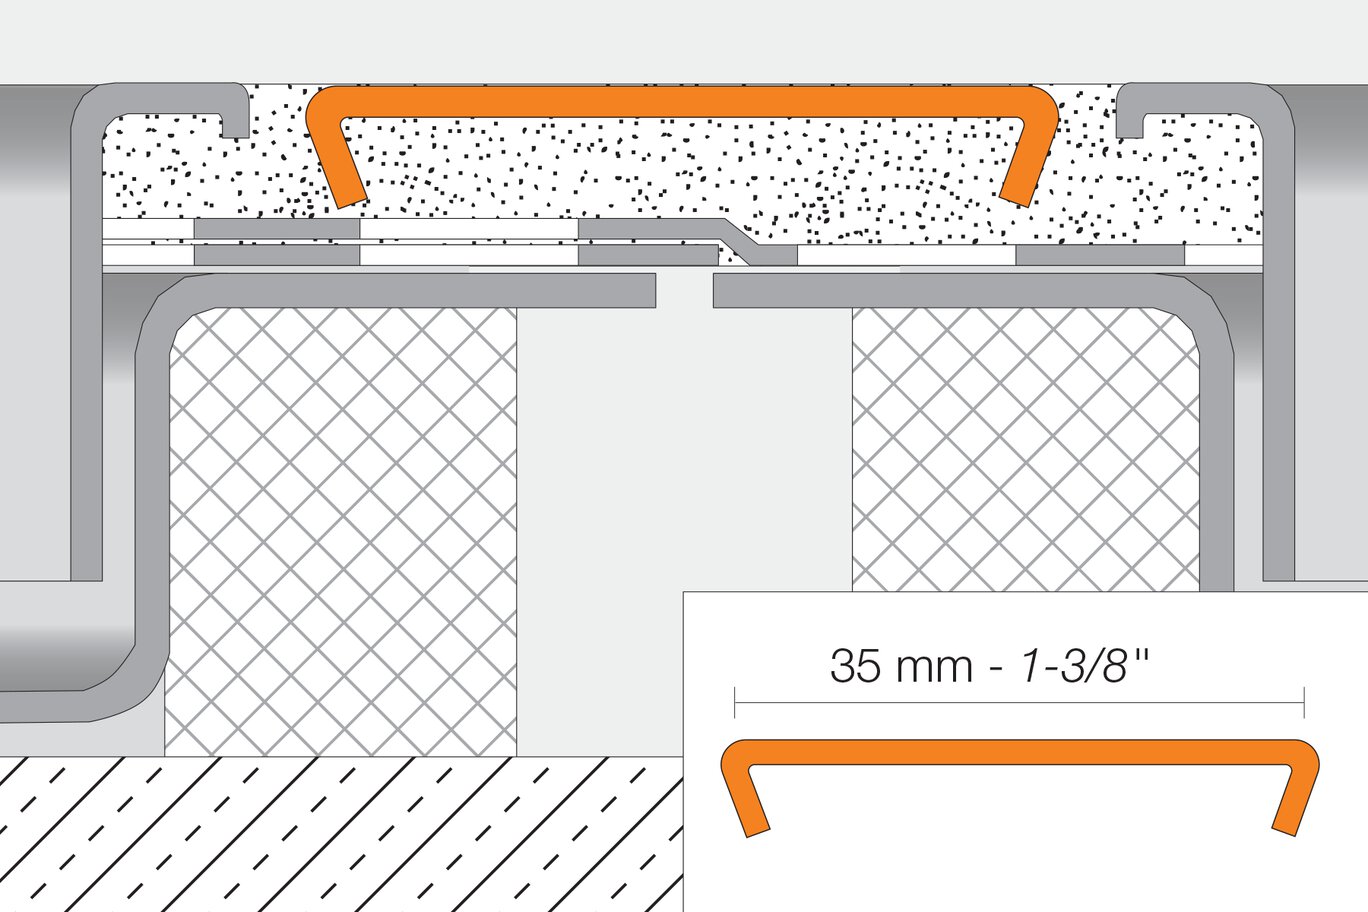
1. Posez les corps de caniveau KERDI-LINE bout à bout et faites chevaucher les collerettes KERDI à l’aide de Schluter-SET®, Schluter-ALL-SET®, Schluter-FAST-SET® ou de ciment-colle non modifié pour assurer l’étanchéité des raccords. KERDI-LINE-FC sera installé subséquemment avec le système de grille KERDI-LINE et les carreaux adjacents.
Note : KERDI-LINE-FC pourra être employé avec des carreaux d’une épaisseur de 1/4" (6 mm) ou plus.
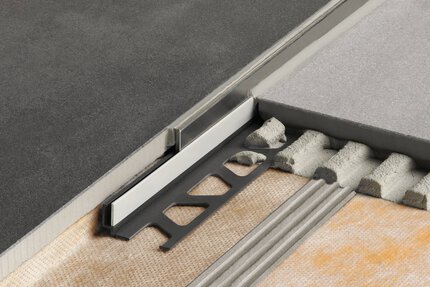
2. Appliquez une quantité suffisante de ciment-colle sur le substrat ou le dessous de KERDI-LINE-FC, puis enfoncez le profilé dans le ciment-colle jusqu’à ce que sa surface arrive à égalité des carreaux et de la grille adjacents.
3. Laissez un espace d’environ 1/16" à 1/8" (de 1.5 à 3 mm)
.4. Remplissez complètement les joints de coulis ou d’adhésif.
Plaque à carreler
Installation le long d'un mur
1 Retirez le film de protection de la bande de recouvrement et appliquez cette dernière sur la bride de collage le long du ou des mur(s). Positionnez la bande le long du corps du caniveau. La bande de recouvrement servira à protéger et masquer la surface de KERDI sous les carreaux.
2. Insérez les espaceurs de carreaux dans le corps du caniveau. Installez les carreaux sur les murs et le plancher voisins jusqu’aux espaceurs à l’aide de Schluter-SET®, Schluter-ALL-SET®, Schluter-FAST-SET® ou de ciment-colle non modifié, en vous assurant de réaliser une couverture complète. Retirez tout excédent d’adhésif.
3. Posez le carrelage sur la plaque au moyen de Schluter-SET®, Schluter-ALL-SET®, Schluter-FAST-SET® ou de ciment-colle non modifié. Les carreaux devront arriver à égalité du rebord avant de la plaque pour laisser s’évacuer l’eau, ainsi que dépasser du côté arrière pour recouvrir la bride de collage jusqu’au mur. Mesurez et taillez les carreaux de façon à laisser un jeu d’environ 1/16" (1 mm) entre les carreaux et le mur. Lorsque le corps de caniveau longe un mur, les carreaux dépasseront le rebord de la plaque, de façon à recouvrir la bride de collage le long du mur. Mesurez et taillez les carreaux de la plaque afin de laisser un jeu d’environ 1/16" (1 mm) entre les carreaux et le mur.
Note : Lorsque le carrelage se prolonge au-delà des extrémités du caniveau, les carreaux faisant le rebord du support à carreler peuvent être taillés de façon à correspondre aux joints de coulis des carreaux avoisinants ou à offrir une ouverture d’évacuation sur le périmètre de la plaque.
Installation centrée
1. Lorsque les extrémités du caniveau sont attenantes aux murs, retirez le film de protection de la bande de recouvrement et appliquez-la sur la bride de collage le long des murs. Positionnez la bande le long du corps du caniveau. La bande de recouvrement servira à protéger et masquer la surface de KERDI sous les carreaux. Lorsque le carrelage se prolonge au-delà des extrémités du caniveau, la bande de recouvrement n’est pas requise.
2. Installez les espaceurs de carreaux dans le corps de caniveau. Installez les carreaux sur les murs et le plancher voisins (le cas échéant) jusqu’aux espaceurs, à l’aide de Schluter-SET®, Schluter-ALL-SET®, Schluter-FAST-SET® ou de ciment-colle non modifié, en vous assurant de réaliser une couverture complète. Retirez tout excédent d’adhésif.
3. Collez les carreaux sur la plaque au moyen de ciment-colle non modifié. Les carreaux devront arriver à égalité du rebord avant et arrière de la plaque pour laisser s’évacuer l’eau. Lorsque l’extrémité du corps de caniveau est attenante à un mur, les carreaux dépasseront le rebord de la plaque de façon à recouvrir la bride de collage le long du mur. Mesurez et taillez les carreaux de la plaque afin de laisser un jeu d’environ 1/16" (1 mm) entre les carreaux et le mur. Note : Lorsque le carrelage se prolonge au-delà des extrémités du caniveau, les carreaux faisant le rebord du support à carreler peuvent être taillés de façon à correspondre aux joints de coulis des carreaux avoisinants ou à offrir des ouvertures d’évacuations sur le périmètre de la plaque.
Note : Pour les revêtements résistants aux acides, utilisez une colle et un coulis à l’époxy.
4. Remplissez complètement les joints de coulis ou d’adhésif.
nstallation le long d'un mur
Note : Lorsque le carrelage se prolonge au-delà des extrémités du caniveau, les carreaux faisant le rebord du support à carreler peuvent être taillés de façon à correspondre aux joints de coulis des carreaux avoisinants ou à offrir une ouverture d’évacuation sur le périmètre de la plaque.
Note : Lorsque le carrelage se prolonge au-delà des extrémités du caniveau, les carreaux faisant le rebord du support à carreler peuvent être taillés de façon à correspondre aux joints de coulis des carreaux avoisinants ou à offrir des ouvertures d’évacuations sur le périmètre de la plaque.